
In this article, we’ll go through everything you need to know to adjust different settings in ProCharted.
Company
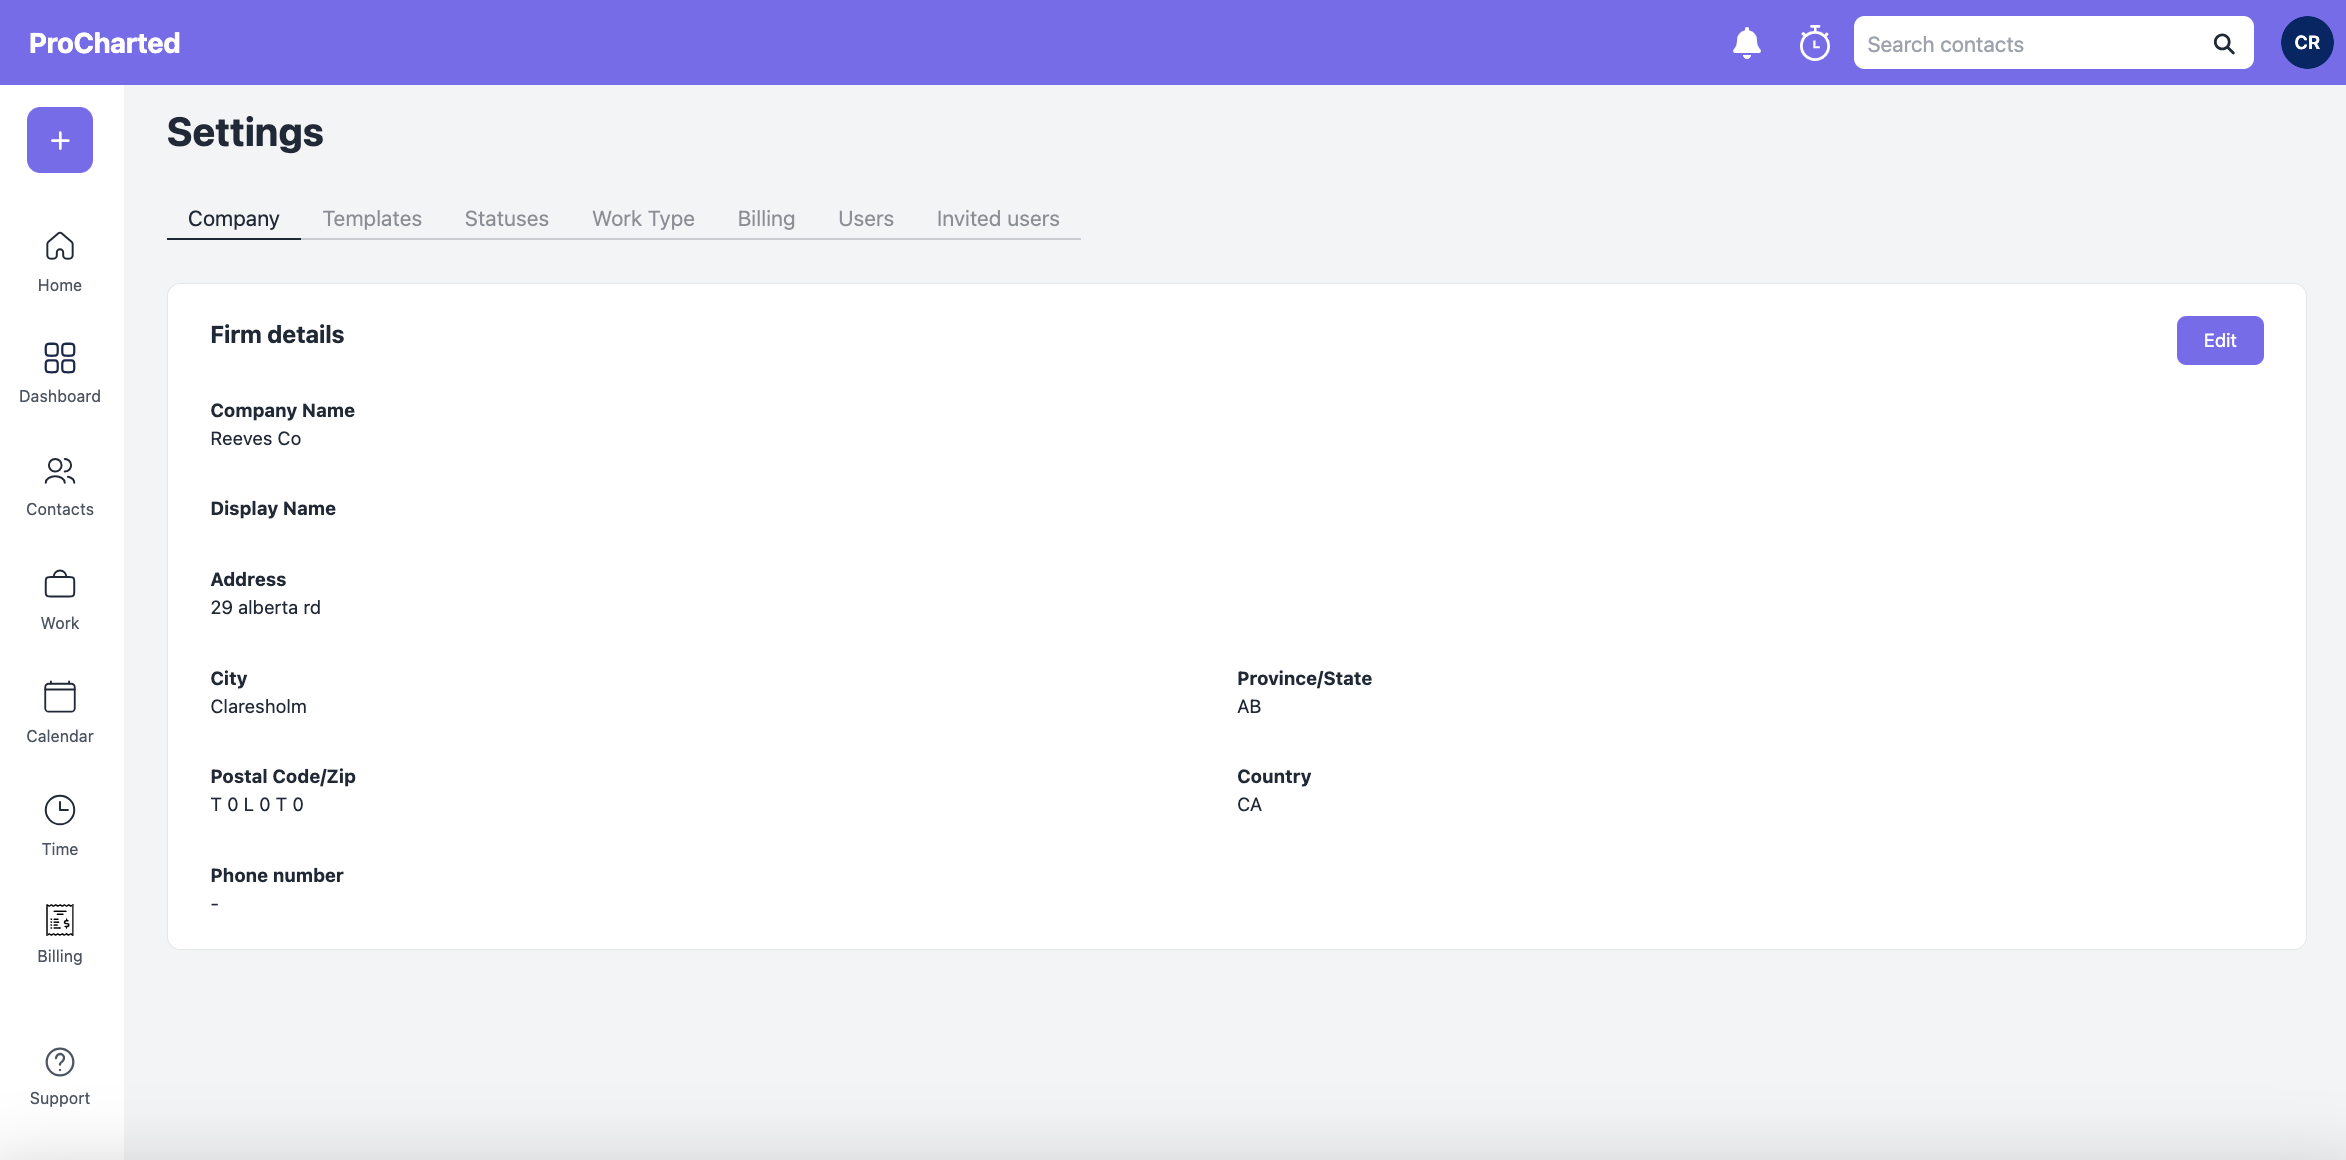
This is where you can enter your firm’s information. By default, it will be populated with the name and address that you entered when you signed up for the trial, but it can be changed at any time. This information will appear on the invoices you generate in the Billing feature.
At the top, you will see your company name and display name. The display name is what will show on any client facing items, such as invoices.
Templates
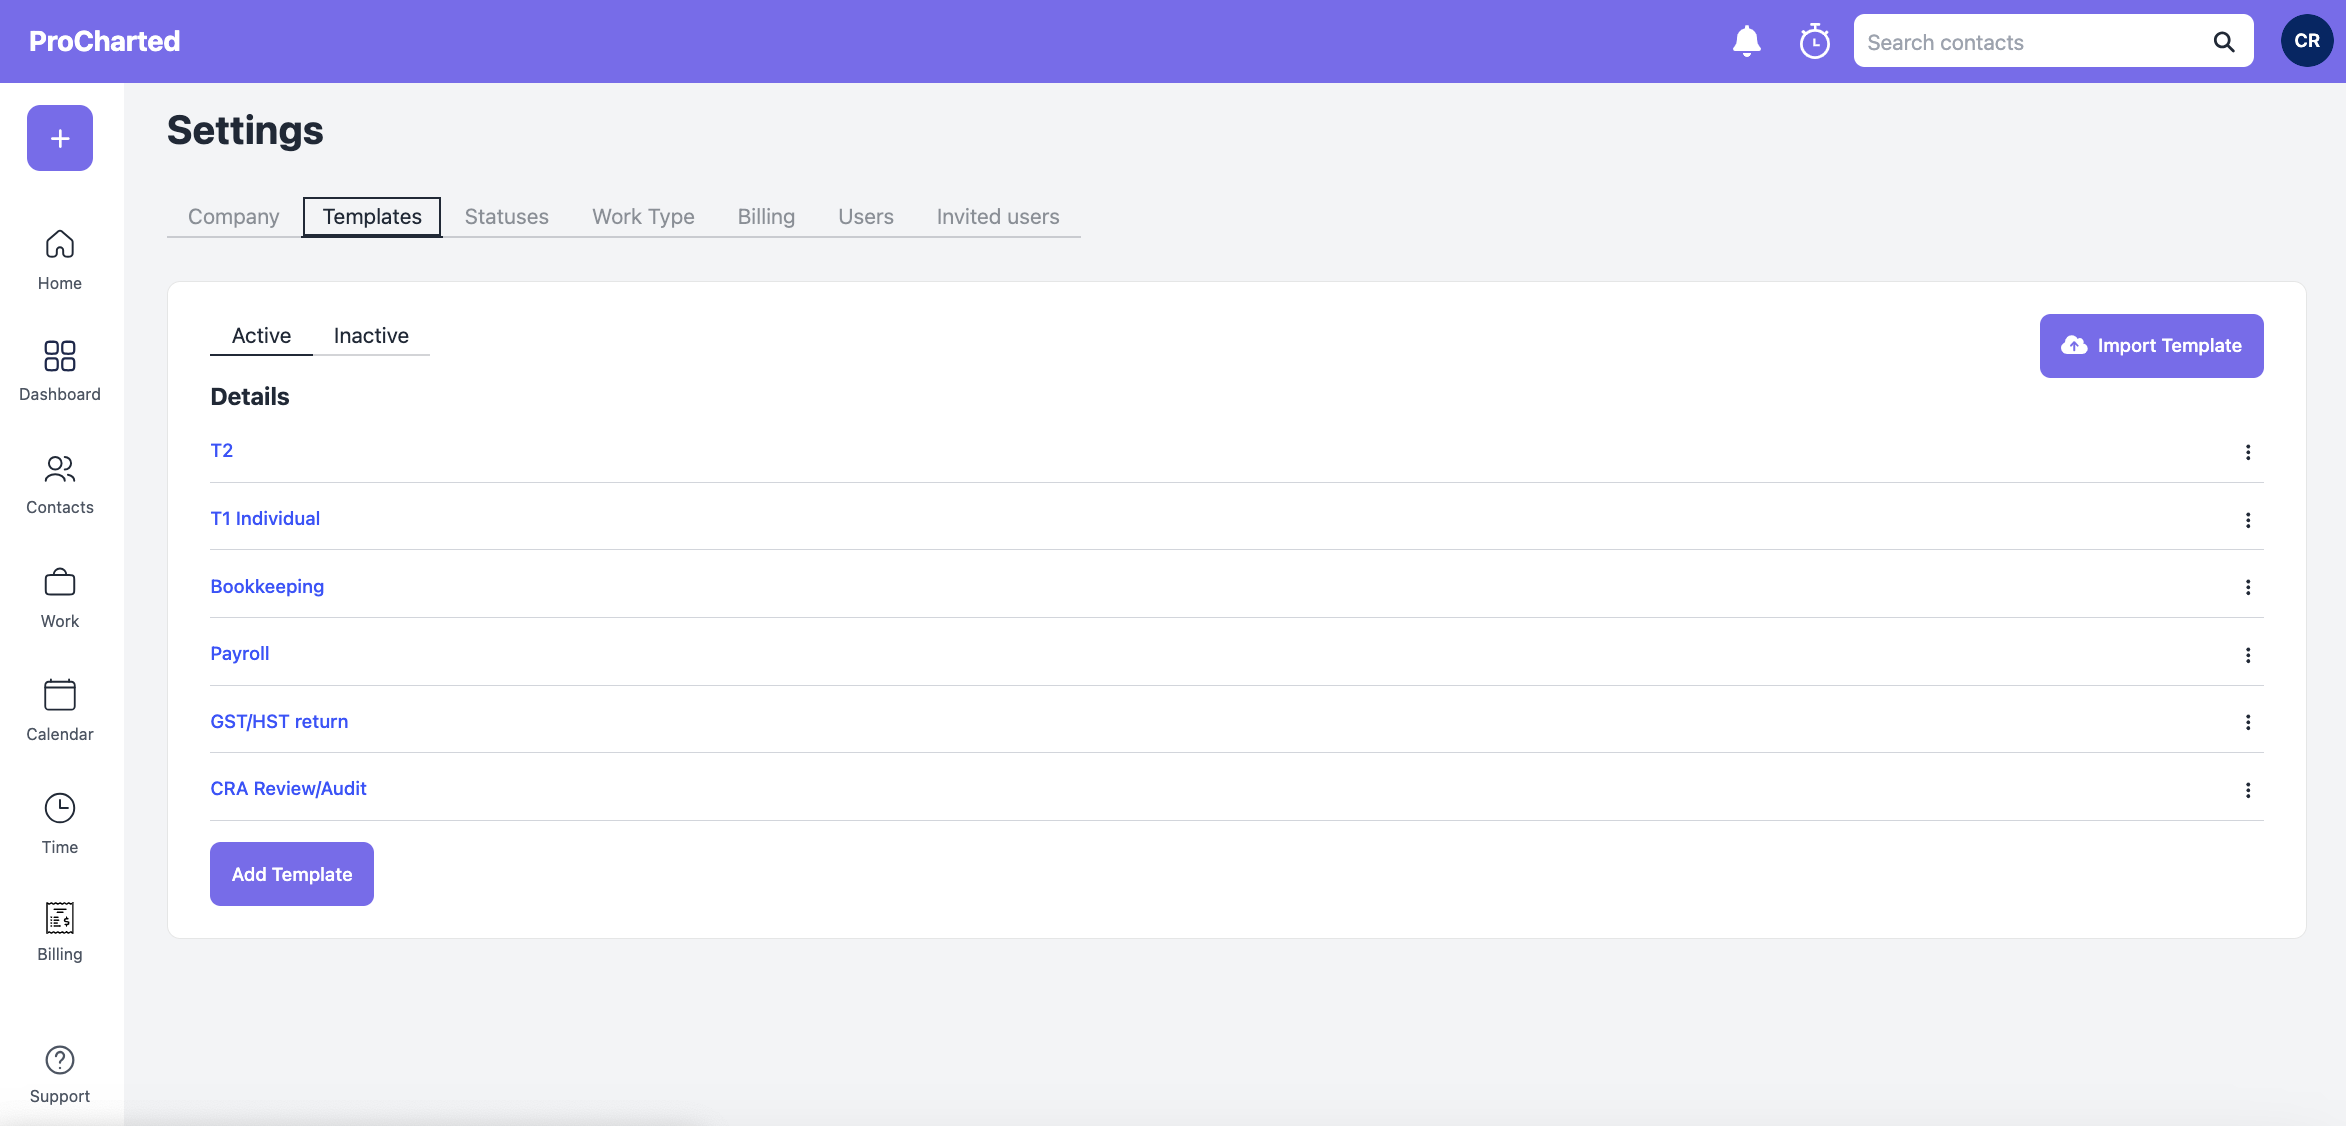
This is where you can set up your subtask templates – they’re the checklist you see at the bottom of work items. Your trial comes with a set of pre-made templates, but you can modify these or create new ones.
You can also delete templates. If you’ve already used the template for a work item, the template will be moved to the “inactive” tab instead of being deleted completely.
You can import templates using the “import template” button at the top right corner. This is useful when you want to add pre-made templates or if you have multiple profiles and want to duplicate a template in another profile.
Tip: When you create a list of subtasks in a template, you can change their order by clicking and holding on the 3 purple lines on the left to drag individual subtasks up or down. When you use the template in a work item, the new saved order will appear.
Statuses
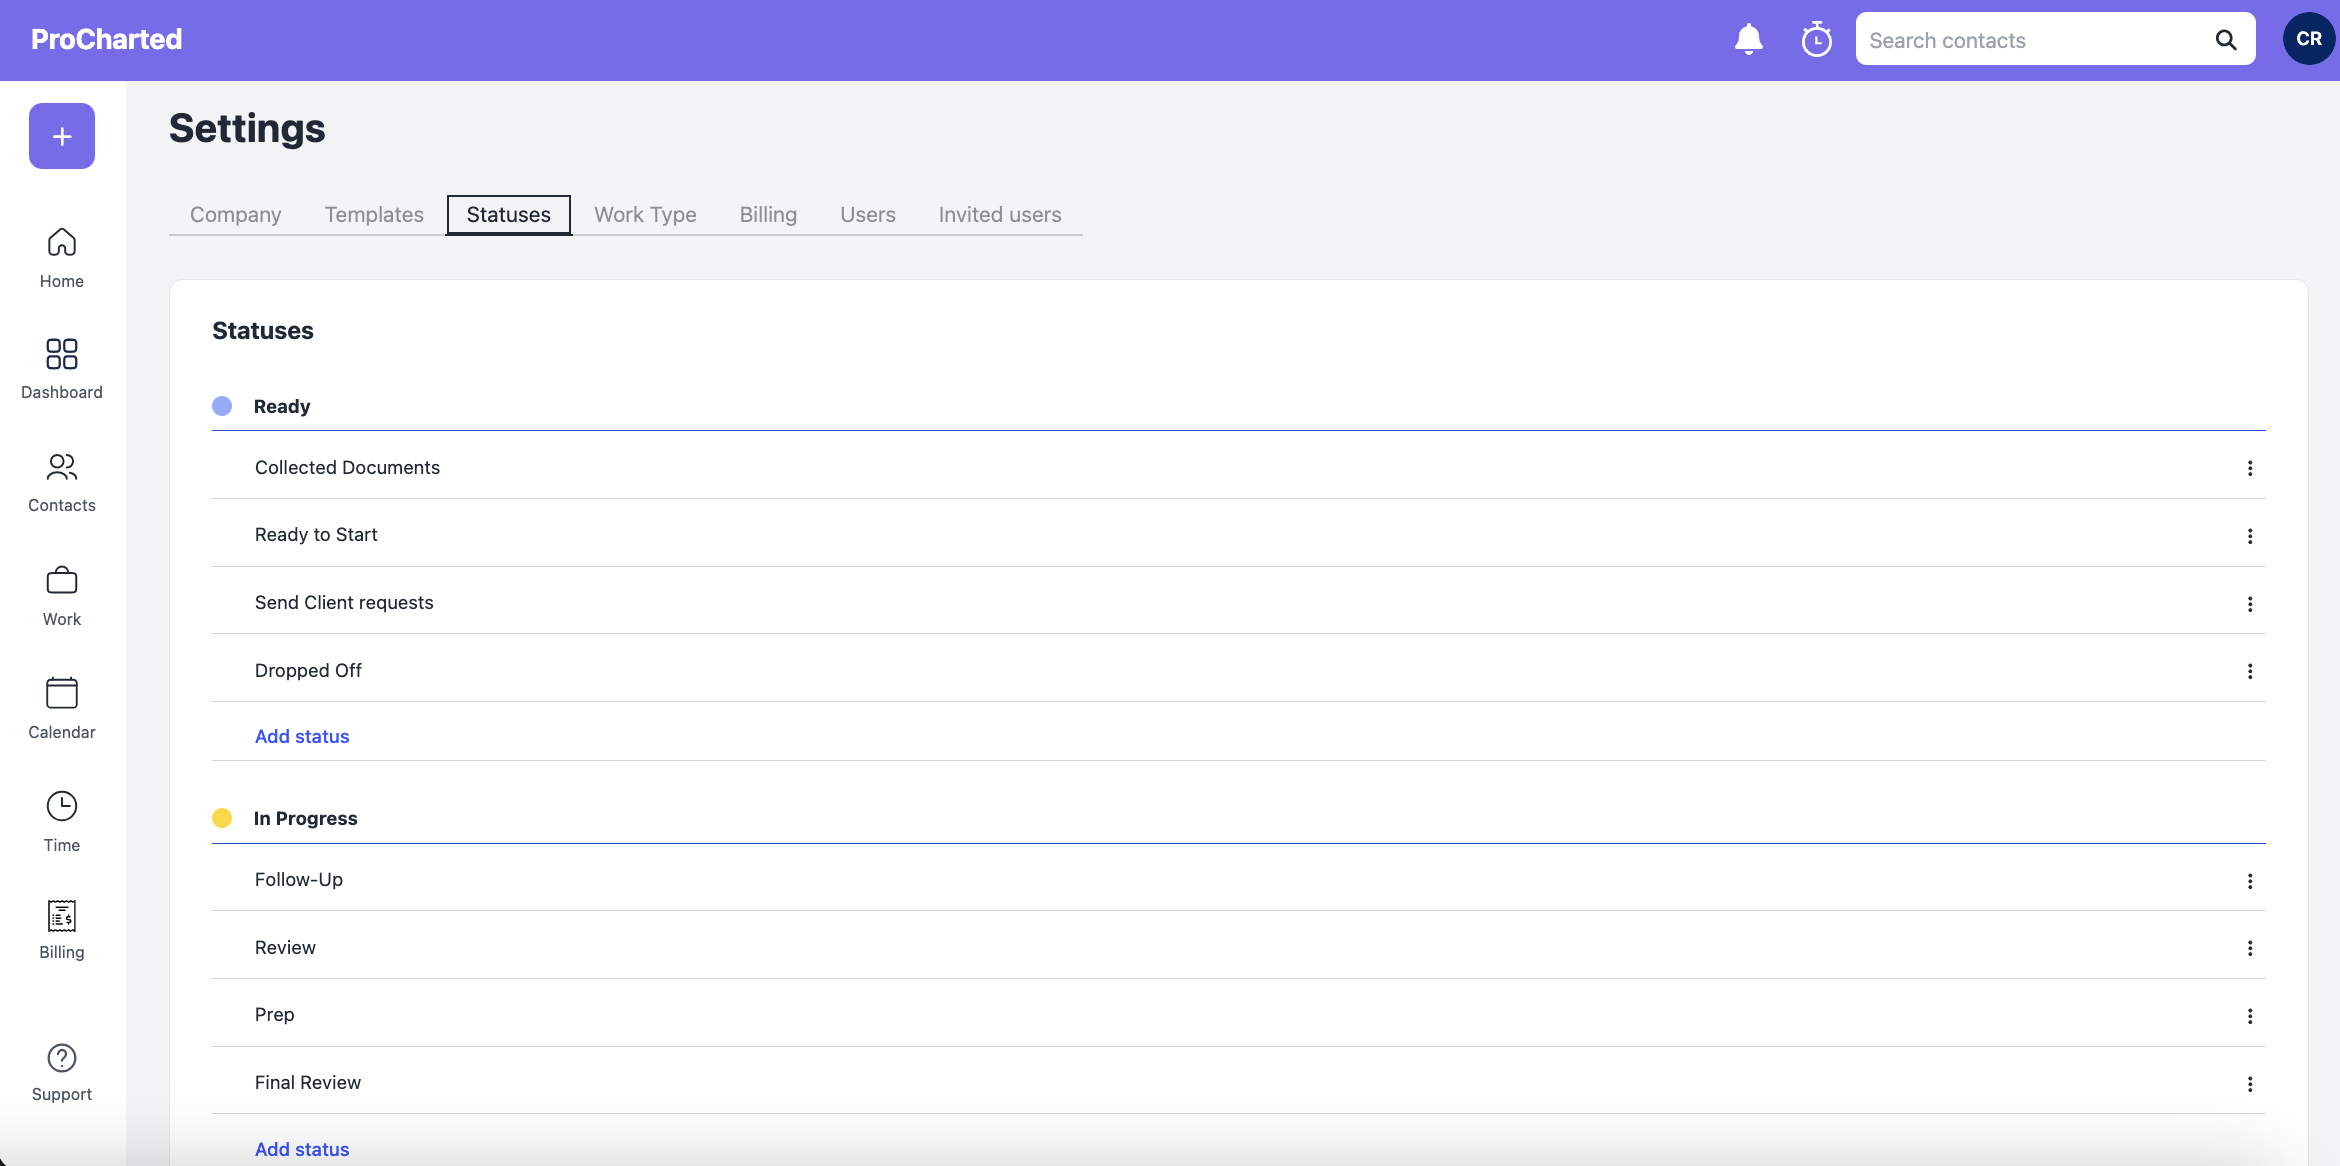
There are a list of statuses available to choose from for your work items. Statuses are grouped into 4 categories: Ready, In Progress, Waiting, and Completed. Any statuses that you create will fall under one of these 4 categories.
Ready is meant for statuses that occur before the work has started, for example drop off, documents collected, ready to start.
In Progress are work items that occur after the work has already started; for example, in review, follow up or preparing.
Waiting are work items that are pending due to missing information. For example, waiting for documents, waiting for CRA or waiting for client.
Completed are items that are done. In this category you can add statuses like, E-Filed, Invoiced, Waiting for pickup etc.
Tip: When a work item is put under any completed statuses, they are moved to your completed section in the home page and no longer show up on your weekly to-do list.
Statuses and Work Type
Once you’ve set up your statuses, the next step is to associate them with work types. Use work types to create workflows that use your new set of statuses. Keep in mind that your statuses can only be used once they are associated with a work type.
Work Type
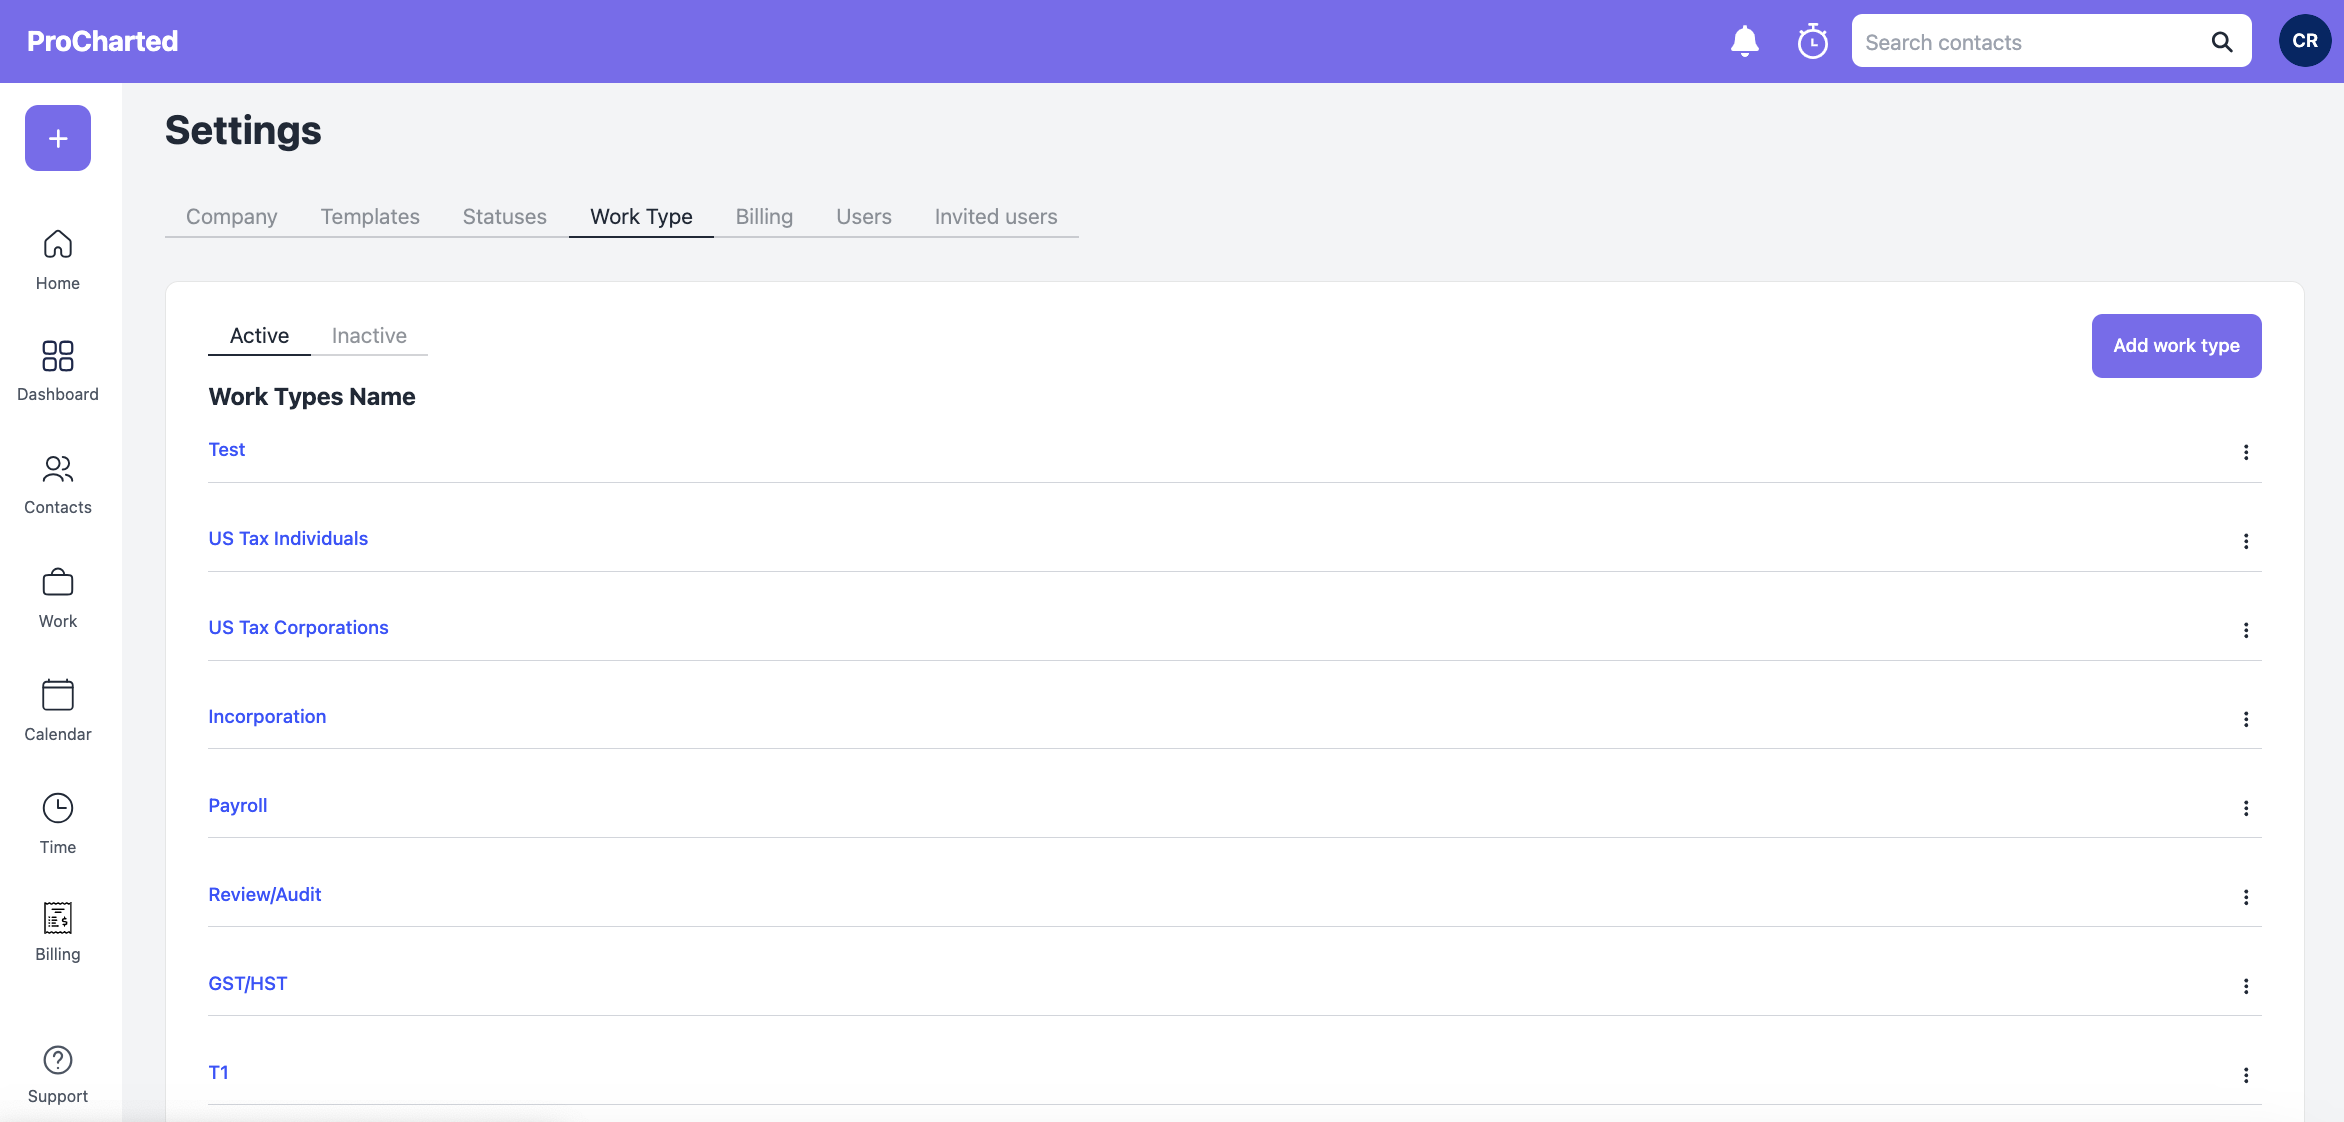
Work types are a way to categorize all your work items. You can name them any way you’d like but some examples are Personal Taxes, Bookkeeping, Corporate Taxes etc. Selecting a work type is required when creating a work item.
After creating a work type, the next step is to choose a set of statuses that go with it. In other words, every work type can have its own set of statuses. So when you create a new work item, the available statuses for that particular work item will be based on the work type you selected. Create a work type or select an existing one, select which statuses you want to be added to the work type, then click update.
Tip: If you create a work type but don’t select any statuses, you will still have the 4 main statuses associated with this work type: Ready, In Progress, Waiting and Completed.
Billing
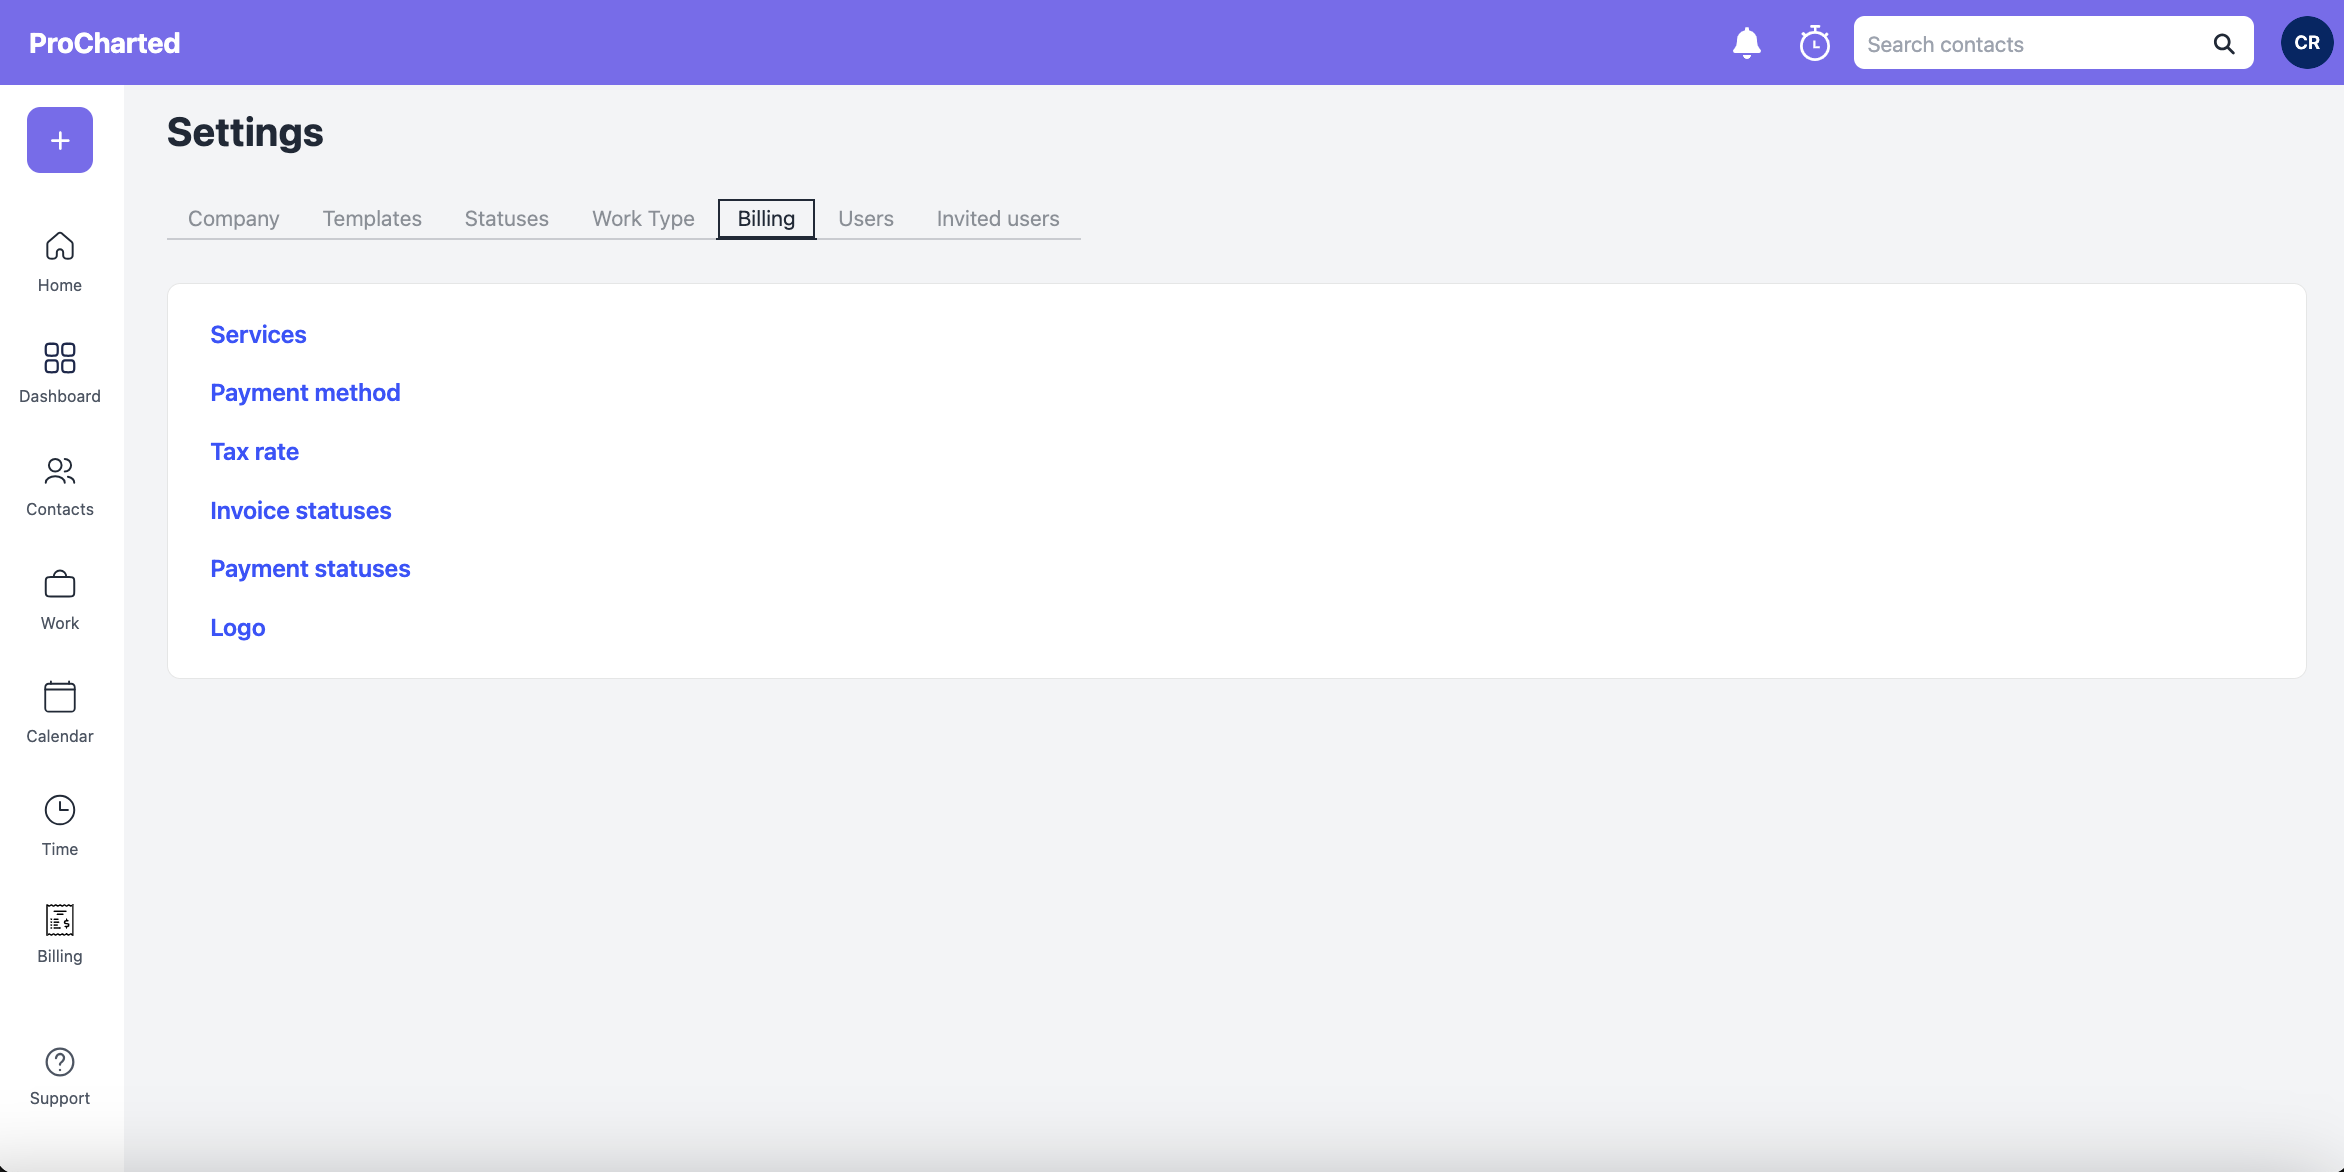
The billing settings allow you to personalize the billing feature for your office. Here are the main sections to set up:
Services
Services refer to the different types of services you bill your clients for. Some examples are Corporate taxes, bookkeeping and payroll. Each service has its own default price but it can also manually change when creating an invoice. You can also add a description for each service.
Payment method
This is where you add the different payment method you accept in your office. For example, Visa, Master Card, Debit, Cash, Cheque etc.
Tax Rate
When you generate an invoice for a client, if you charge a sales tax, this is where you set up the tax amount. You can set the percentage and also provide the name of the sales tax the way you would like it to appear on the invoices.
Invoice and Payment Statuses
You can create a set of statuses for billing to track the progress of billing and payments. Some examples of statuses are: Waiting for signatures, E-Filed, Mailed, Contacted, etc. Those statuses are completely customizable and optional.
Logo
This is where you can upload your company logo that will appear on the invoices.
Users
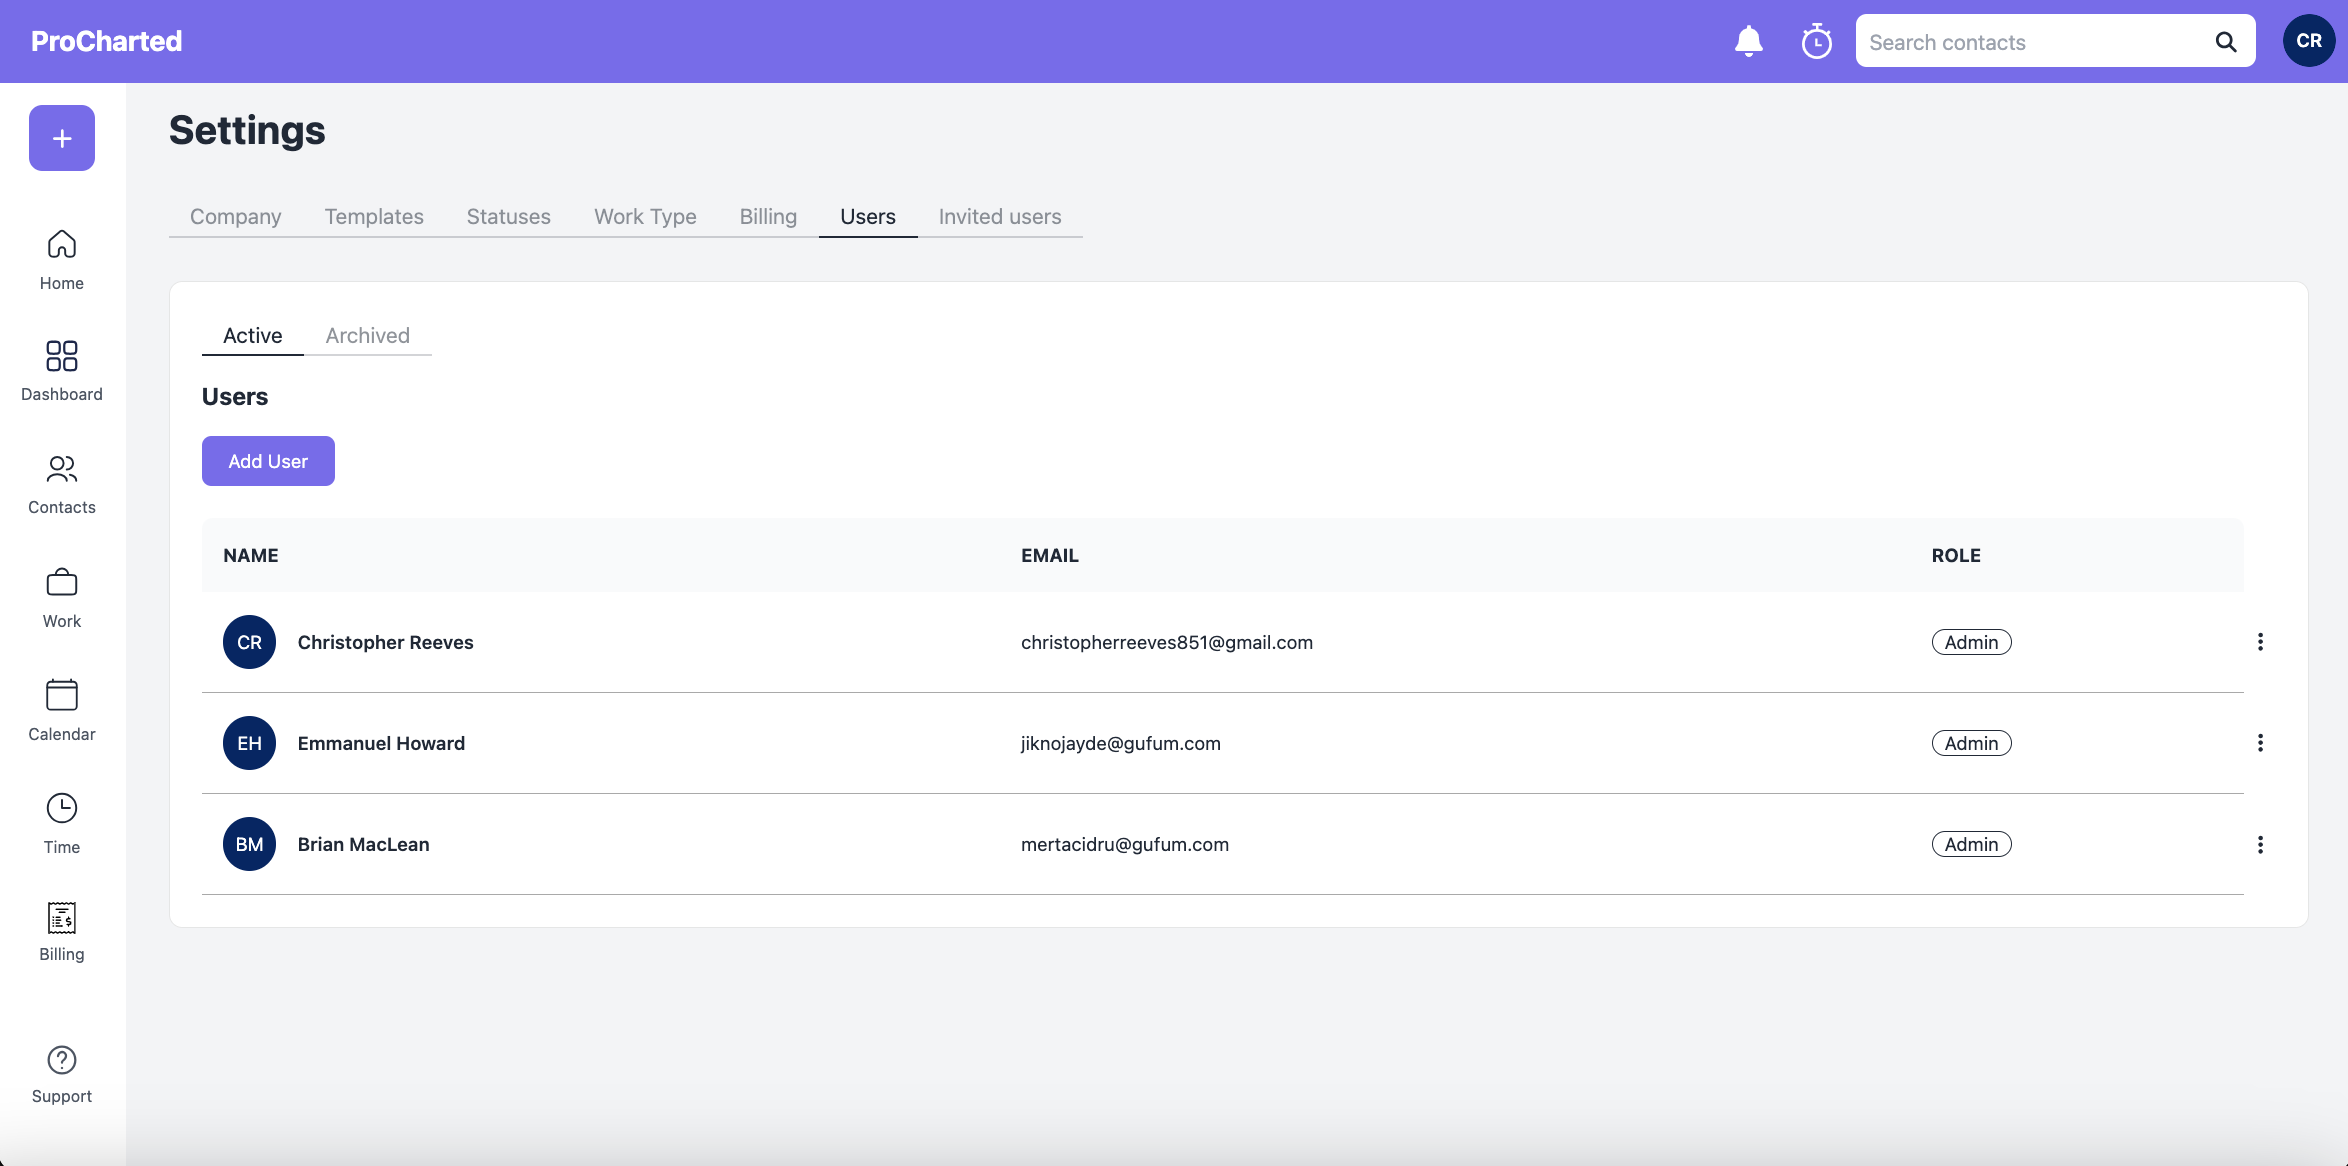
You can invite team members in the Users section of settings. First click on “Add User,” enter the team member’s name, email address and role, then click add user at the bottom. They will then receive an email where they can create their own password.
Different roles:
Admin: The user will have access to everything in the software.
Staff (No Settings): The user will have access to everything except for the settings page.
Staff (No Settings, No Billing): The user will have no access to the settings or billing page. They will still be able to create new invoices and payments and they will be able to see individual clients’ invoices and payments (By opening the client’s profile) but they won’t be able to access the main billing page that shows all your office’s invoices and payments.
Have questions? Please don’t hesitate to contact us for more support!