
Getting started
Set up your firm: a checklist
The steps to get your firm ready in ProCharted, in order – company details, work types, statuses, templates, team, email, billing and clients.
Before you start
- You need to be an admin, or have the View Settings permission. Settings is in your avatar menu (top right) > Settings.
- Your firm already comes with a set of default work types and subtask templates. You don’t have to build everything from scratch.
The checklist
1. Add your company details
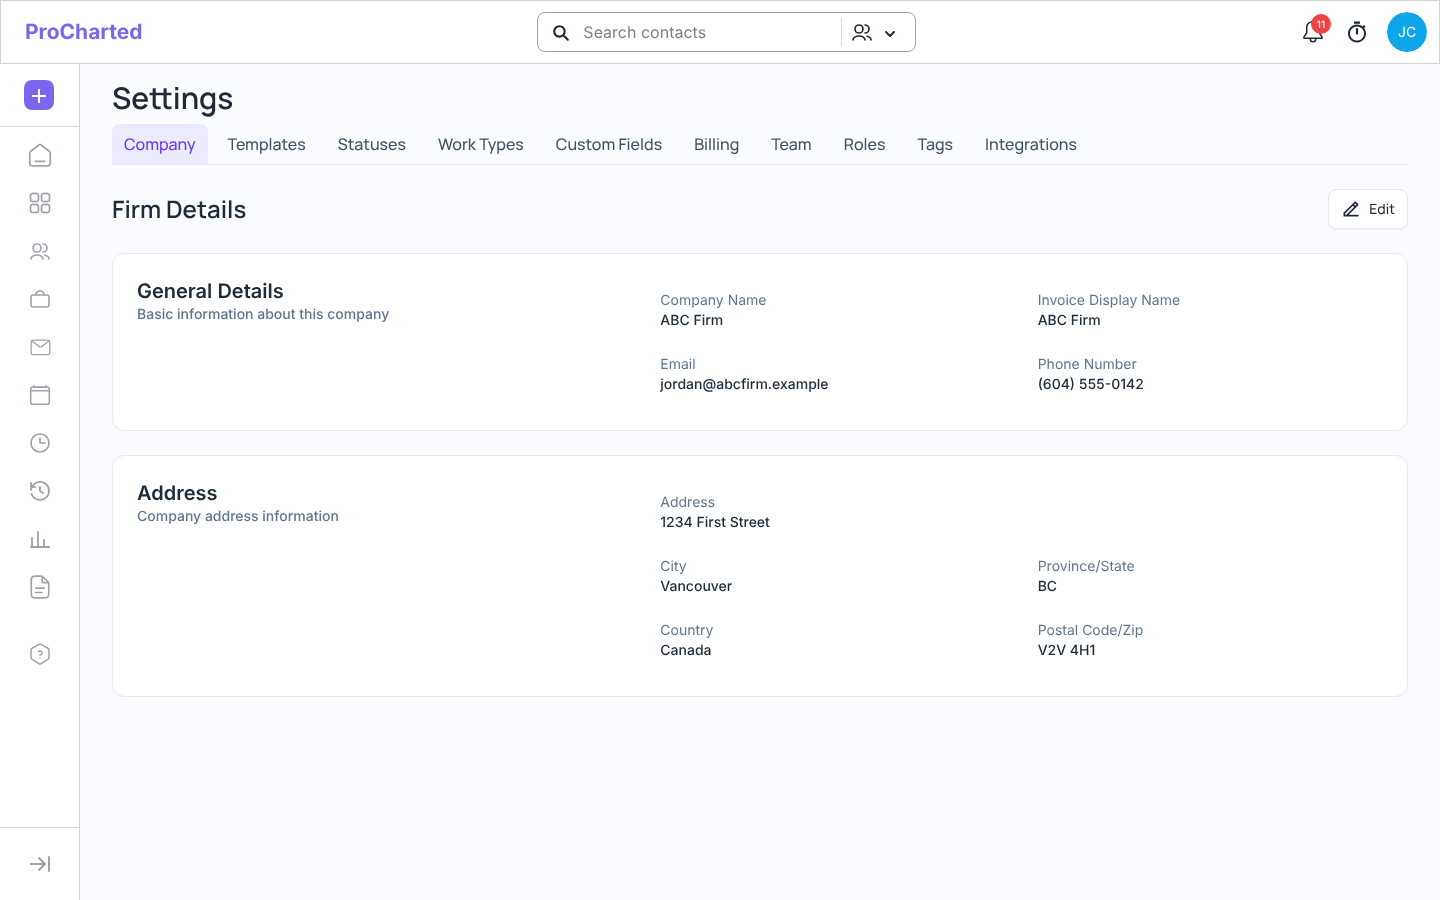
- Go to Settings > Company and click Edit.
- Fill in Company Name, Invoice Display Name (the name shown on invoices), Email, Phone Number and your address.
- Click Save Changes.
2. Review the default work types and subtask templates
- Go to Settings > Work Types and look through the list. Keep the ones that match the work your firm does.
- Go to Settings > Templates > Subtask templates and do the same.
- For anything you don’t use, choose Deactivate in its ⋮ menu. Deactivate rather than delete: it hides the item but keeps it, and you can turn it back on later.
3. Set up statuses for each work type
Add your own statuses (for example “Waiting for documents”) and add them to the right work types. See Create a status and add it to a work type.
4. Set work type defaults
Give each work type a default subtask template, assignee, role, budget, time billing and
Default Due Date (a number of days after the start date), so new work fills itself in. See Work types: defaults, automations and statuses.
5. Create your templates
Under Settings > Templates, adjust the subtask templates and add Email templates for the emails you send often. See Subtasks and subtask templates and Email templates.
6. Check the folders every client gets
Go to Settings > Templates > Folder templates. Your firm starts with a Standard client template (for example Client uploads, {this year} and Permanent). Change the folders if you like and click Save template. See
Find files across all clients: the Documents page.
7. Invite your team and set permissions
In Settings > Team, click + New User for each person, then choose what they can see and their hourly rate. See Team members, access levels and permissions.
8. Create roles
If work is shared by a group (for example Bookkeepers), create a role in Settings > Roles and add its members. See Roles and queued work.
9. Connect your email
Each person connects their own mailbox from Email in the left menu. Outlook / Microsoft 365 mailboxes are supported. You need this to send invoices and email sequences. See
Connect your email.
10. Set up billing
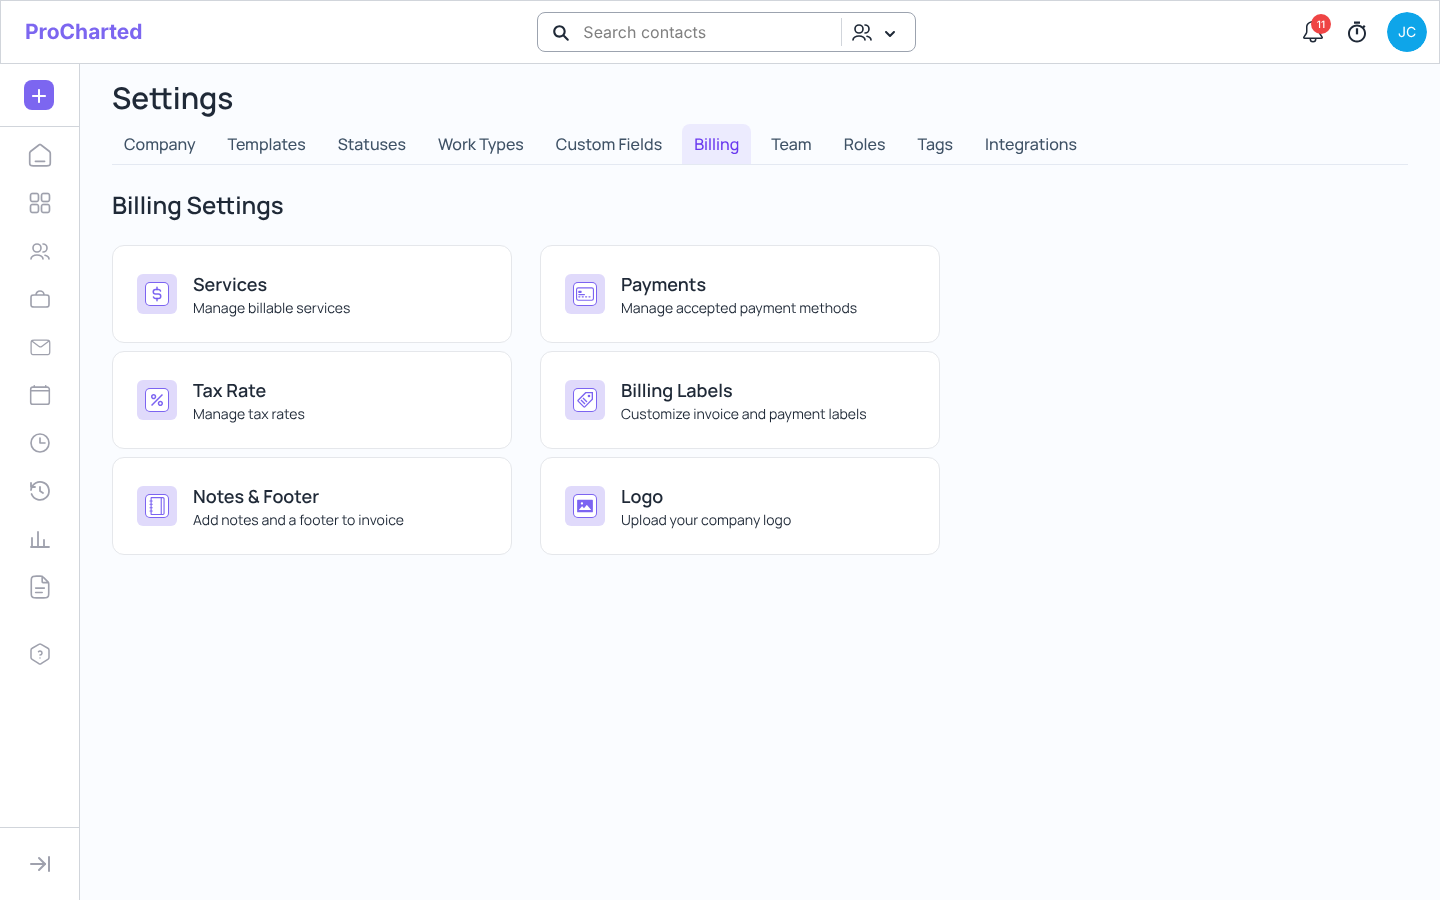
- Go to Settings > Billing.
- Open Services to add the services you bill for.
- Open Tax Rate to add your tax rates.
- Open Logo to upload your company logo for invoices.
- If you like, also check Payments (payment methods), Billing Labels and Notes & Footer.
11. Import your clients
In Contacts, click Import and upload a spreadsheet of your individuals and organizations. See The client list – search, filter, bulk actions and importing.
12. Create your first work
Click Create > New Work, pick a work type and a client, and click Create. See
Create new work.
Tips
- Do the steps in this order: work types and statuses first, then team, then clients and work. That way new work picks up the right defaults from day one.
- A work type that is already used on work can’t be deleted – deactivate it instead.
Related articles
- Welcome to ProCharted: a quick tour
- Create a status and add it to a work type
- Work types: defaults, automations and statuses
- Team members, access levels and permissions
- The client list – search, filter, bulk actions and importing